
It’s been three months since the last Hill Valley post, and by now you’re probably wondering what’s been happening with the project. Truth is, my work schedule has been so busy with travel and overtime, that it has been hard to find modeling time. But I have managed to squeeze in some building construction here and there, so I wanted to bring you up to date on the progress.
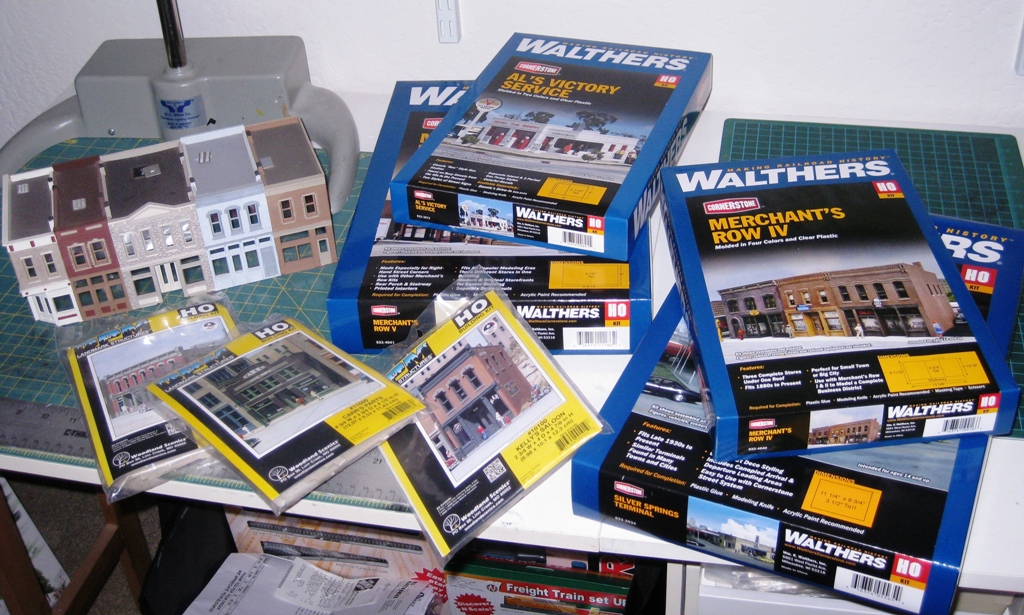
To give you a better scope of the project, the photo below shows all the building kits the Club purchased for the project. You may also note an already completed building on the left, one that was donated to the Club. What isn’t shown here are the scratch-building supplies for the historic freight depot, or the passenger depot kit. Frankly, I just haven’t gotten that far yet. Still, as the photo shows, there is a whole bunch of construction work ahead!
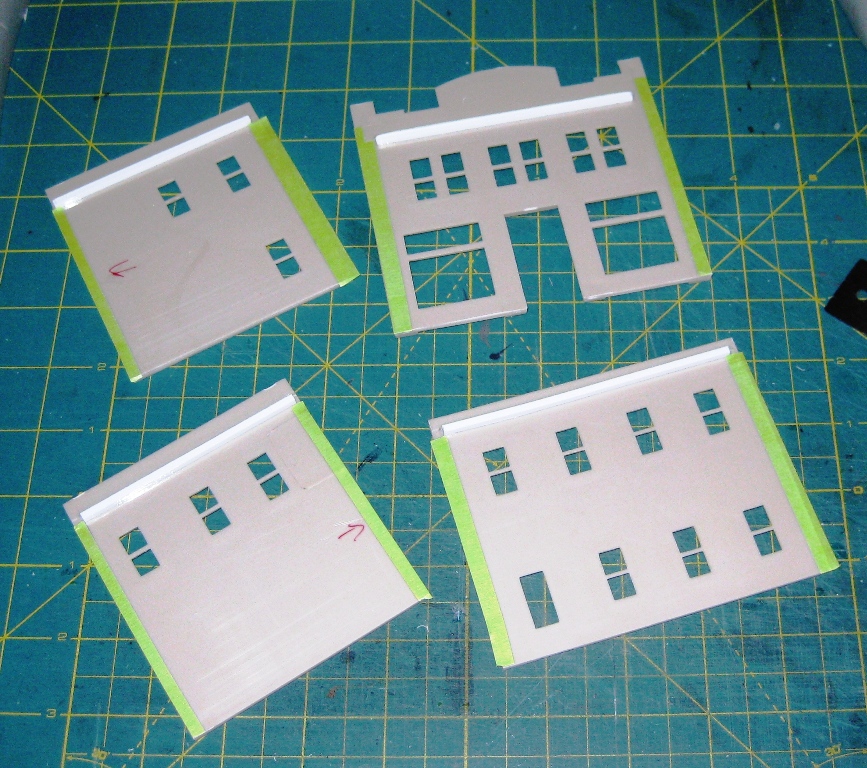
The first step for DPM kits (now owned by Woodland Scenics) is prepping the walls. This includes squaring the edges to remove the mold marks, as described in the instructions. Next the roof supports are installed, using square styrene stock (available from Evergreen). I typically use 0.10” square stock, which is larger than what is supplied with the kit. Look closely in the photo and you’ll see the white strips near the top edge of each wall. Finally you’ll want to mask the edges where the walls will be glued together. This is necessary to prevent the paint from covering this area.
We paint the inside of the walls flat black, to prevent them from “glowing” later if we choose to light the buildings. I typically use inexpensive spray paint from the home improvement store for this step; no need to use pricey railroad model paints.

After the paint has dried thoroughly (depending upon where you live, this could be hours or days), remove the masking tape and glue the walls together. For this step I use miniature bar clamps and a magnetic gluing jig to keep the corners square. I also add a strip of 0.125” square styrene stock to reinforce each corner (in some cases I had to use a smaller sized stock to prevent interference with doors and windows). Look closely in the photo and you’ll see the white strip in the inside corner of the front and side wall.

The Walthers kits come with their own bases and sidewalks. The DPM kits, however, do not so you must fabricate your own. In this case I used 0.04” styrene sheet stock (plain) for the base and laminated 0.02” styrene sheet stock (plain with manual scribing) along the front to simulate the sidewalk. When placed beside a Walthers base, the sidewalk top surfaces line up nicely.
The bases were painted a flat gray color, and will eventually be weathered to look more realistic. The brick buildings were sprayed with a red primer color, and lightly misted over with flat black. They too will need additional detail painting and weathering, but for now you can see the basic look.

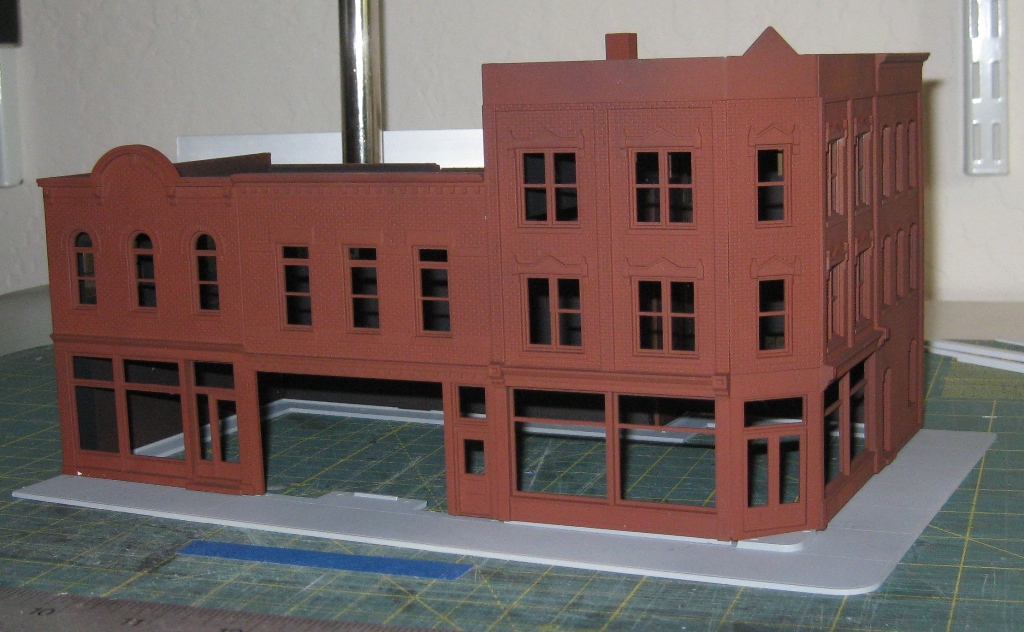
The one Walthers building that was donated to the Club had been exquisitely painted to provide variety and interest, giving a quaint overall look. Compare that to the basic look currently applied to the kits and you can see that I have much detailing work yet to do. Most likely I won’t try to match the donated building, but I would like to add a bit more interest than the “basic brick” look of the current buildings.

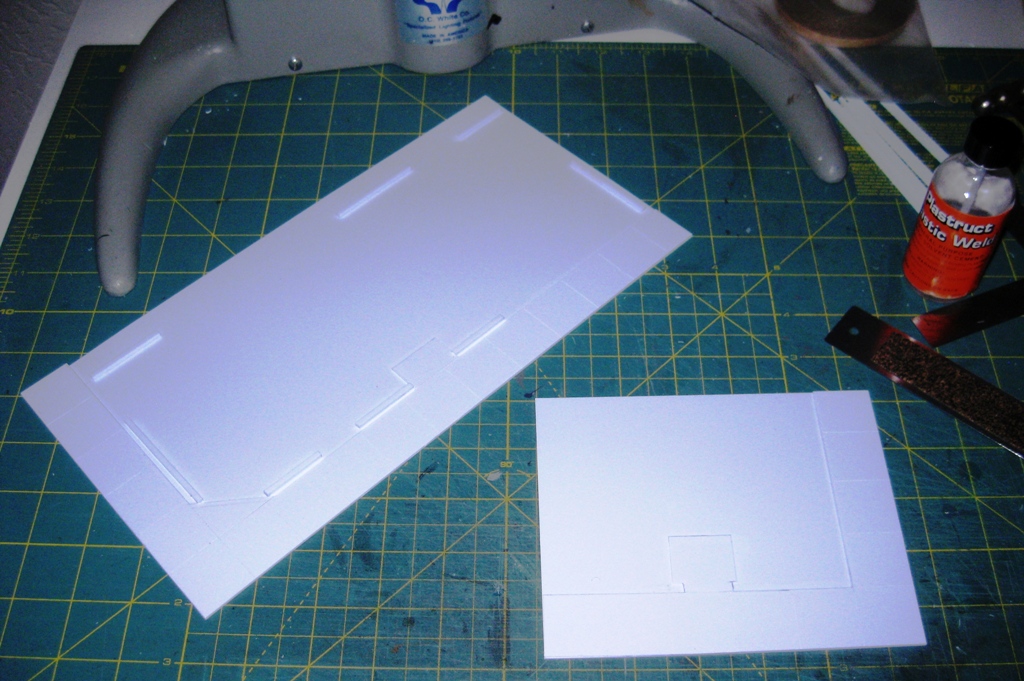
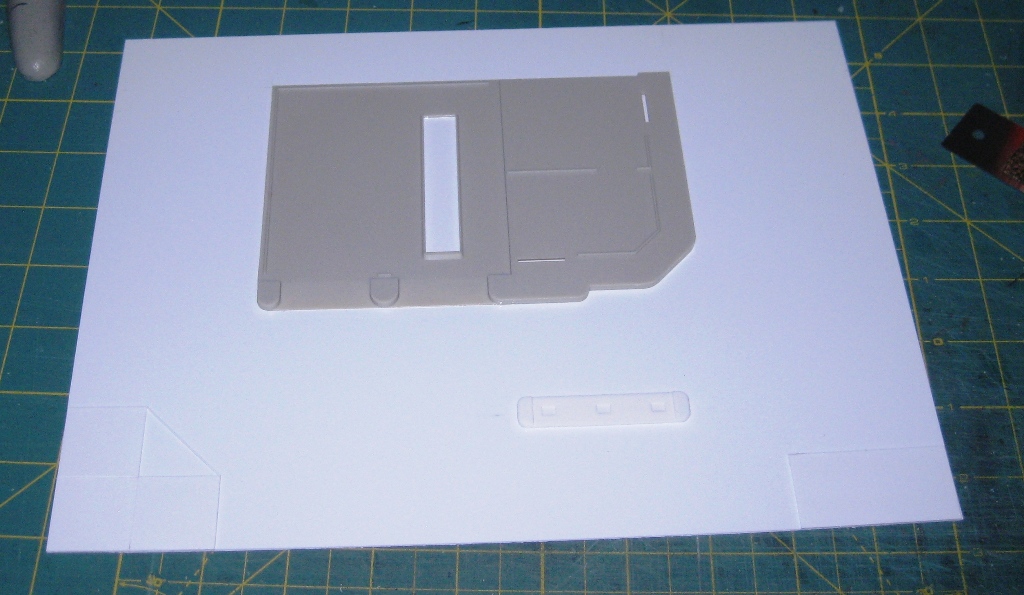
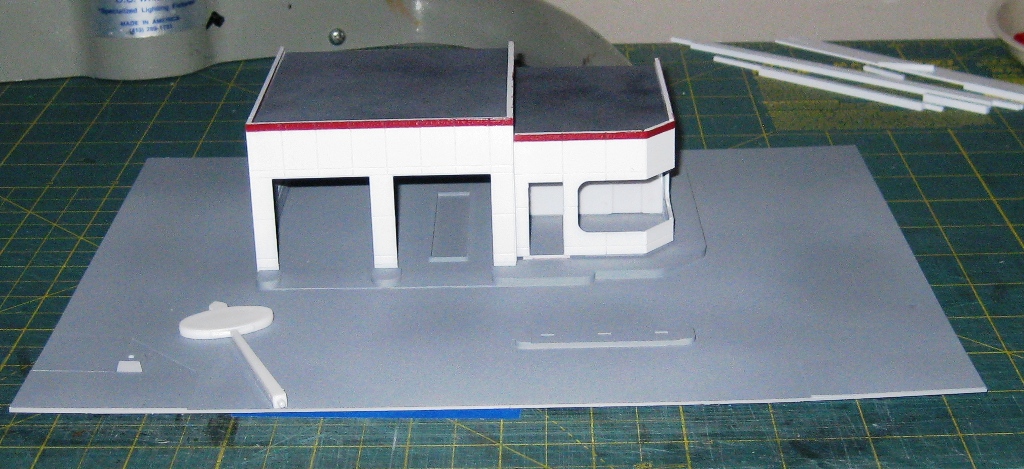
For the gas station, I needed to create an entire corner lot to provide building and pump island placement, a front sidewalk, and driveway entry. I used the same method as above with styrene sheets. Below you can see the “before” prior to painting, and the “after” showing a basic gray coat (to be further weathered), as well as the gas station itself with gloss white walls (simulating tile) and a red strip around the top to highlight the Standard Gas decals that will be applied later.
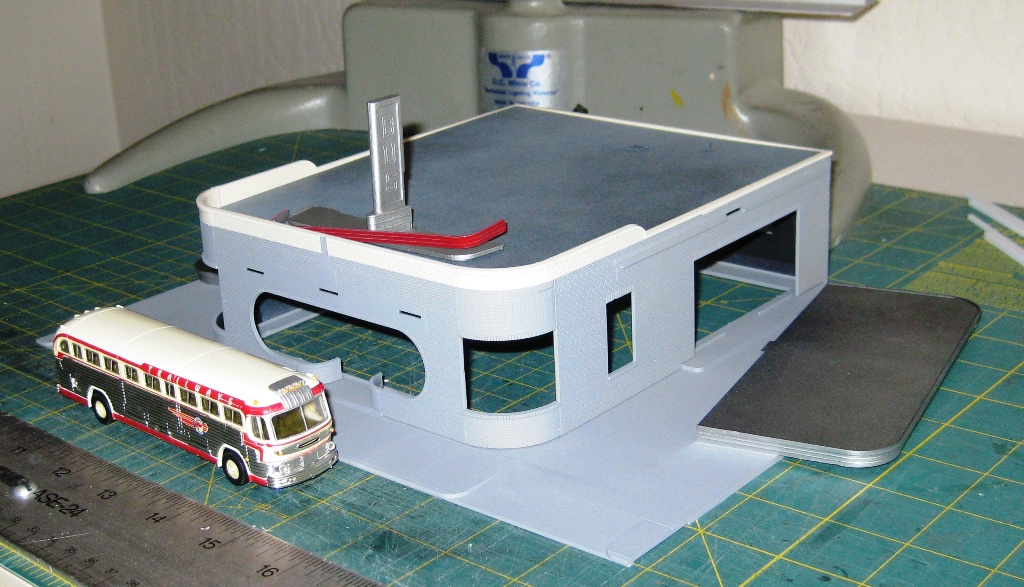
Finally we see the Bus Depot under construction. In this case I wanted to apply a simple color-coordinated paint scheme that would match the cream and red color of the Continental Trailways bus. I also used silver along the edges of the driveway roofs to pick up the chrome color of the bus. Although the depot isn’t finished yet, you can already get a sense of the overall look.
As you can see in the photos, there is still much work to do on these buildings. Trim painting, and the installation of windows, doors, roofs and detail parts still remain. This will take several more weeks, so check back again to see how they turn out! – Phil S.
